Quick answer
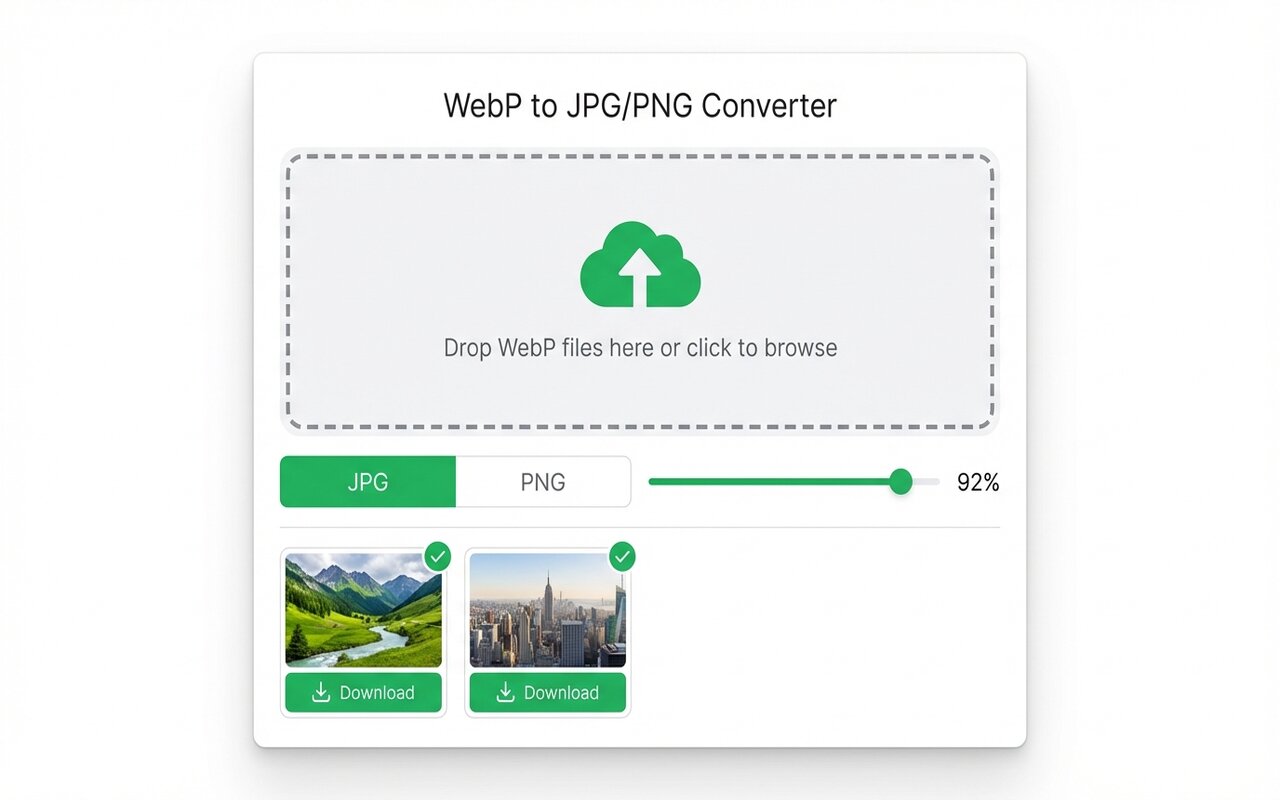
Use the WebP to JPG Chrome extension with quality set to 90 or higher. This preserves nearly all visible quality while reducing file size by 50-70%. For critical images (photography, design), test one file first.
Batch converting 100 WebP files is fast, but if you lose quality in the process, you have wasted the conversion. Here is how to maintain quality while still shrinking file size.
Understanding JPG quality settings
JPG uses a quality scale from 0-100:
- 90-95: nearly indistinguishable from the original, smallest file size that preserves visual quality.
- 75-85: good for web and social media, visible but minor loss on large prints.
- 60-75: acceptable for thumbnails and backgrounds, noticeable loss on large images.
- Below 60: only for tiny thumbnails, visible banding and artifacts.
For any image you care about, start at 90 and lower only if file size is critical.
Quality loss happens at conversion time
When you convert WebP to JPG:
- WebP is either lossless or lossy. Lossless WebP to JPG at quality 95 is nearly pixel-perfect.
- Lossy WebP (the kind most websites use) to JPG at quality 90 often looks identical to the original because both formats discard similar redundant data.
- The larger loss comes from lowering quality below 80 or accidentally changing color space during conversion.
Use quality 90 by default, and only lower it if file size is a hard constraint.
Bulk conversion workflow for high-quality output
For professional batches (100+ product photos, design assets):
- Organize WebP files into a single folder.
- Pick 3 representative files (light, dark, detailed) and convert them at quality 90.
- Export and compare side-by-side with the original in Photoshop or a viewer.
- If quality is acceptable, batch convert all files at quality 90.
- If you need smaller files, try quality 85 on one test file and compare again.
This prevents batch converting 100 files at quality 60 only to realize everything looks compressed.
File size vs quality tradeoff
Realistic file size reductions at different quality levels:
- WebP to JPG @ quality 90: 50-70% smaller than original WebP, quality loss imperceptible to most people.
- WebP to JPG @ quality 80: 40-60% smaller, minor banding visible on gradients and large color areas.
- WebP to JPG @ quality 70: 30-50% smaller, noticeable on product photos, fine for thumbnails.
For batch archival or web use, quality 90 is the sweet spot: huge file savings with zero visible loss.
When PNG is better than JPG for quality
If you are converting and worried about quality loss, consider PNG instead:
- PNG lossless: pixel-perfect copy of the original, no quality loss ever, but file size usually 10-40% larger than JPG.
- PNG size: often comparable to WebP, so if you are converting for compatibility (not size), PNG may be better.
For images with text, logos, or flat colors, PNG lossless is safer than JPG quality 90.
At-a-glance comparison
| Format | Quality setting | vs original WebP | Best for | File size |
|---|---|---|---|---|
| JPG | Quality 95 | Imperceptible | Critical images | Smallest |
| JPG | Quality 90 | Imperceptible | Web, professional | Very small |
| JPG | Quality 80 | Minor banding | Web, thumbnails | Small |
| PNG | Lossless | Identical | Text, logos, compatibility | Medium |
| WebP | Original | Identical | Modern browsers only | Smallest |